The Morph Ball
The Morph Ball, and any type of State Behaviour, can be one of the toughest things to do well as a beginner. This year we’re going to help you get started with it.
Creating the Game Object
If you’ll recall, the reason we were implementing part of the player in Standing instead of all in Player was so that we could switch states by disabling Standing and turning on another Game Object. Now it’s finally time to do that.
Start by Disabling Standing. We’ll turn it back on later, don’t worry.
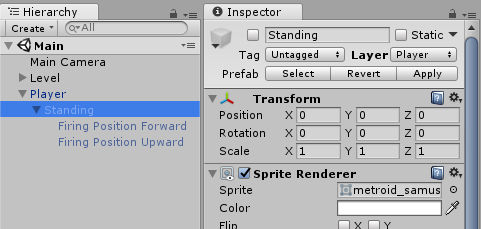
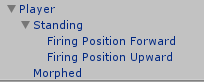
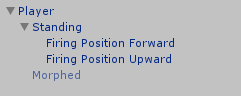
Create a new Game Object named Morphed. Add it as a child to Player and set the local position to (0, 0, 0).
Add a SpriteRenderer with Sprite: metroid_samusaran_sheet_3
Add a SphereCollider with Radius: .45. Also set the Material to Frictionless.
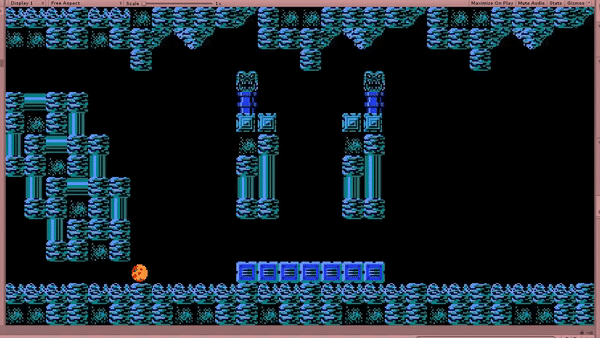
And our ball is ready to go. If you play the scene you’ll see that our Player is fitting nicely in 1 tile tall spots. However, despite being in ball form our player is still able to jump.
Decoupling Jumping
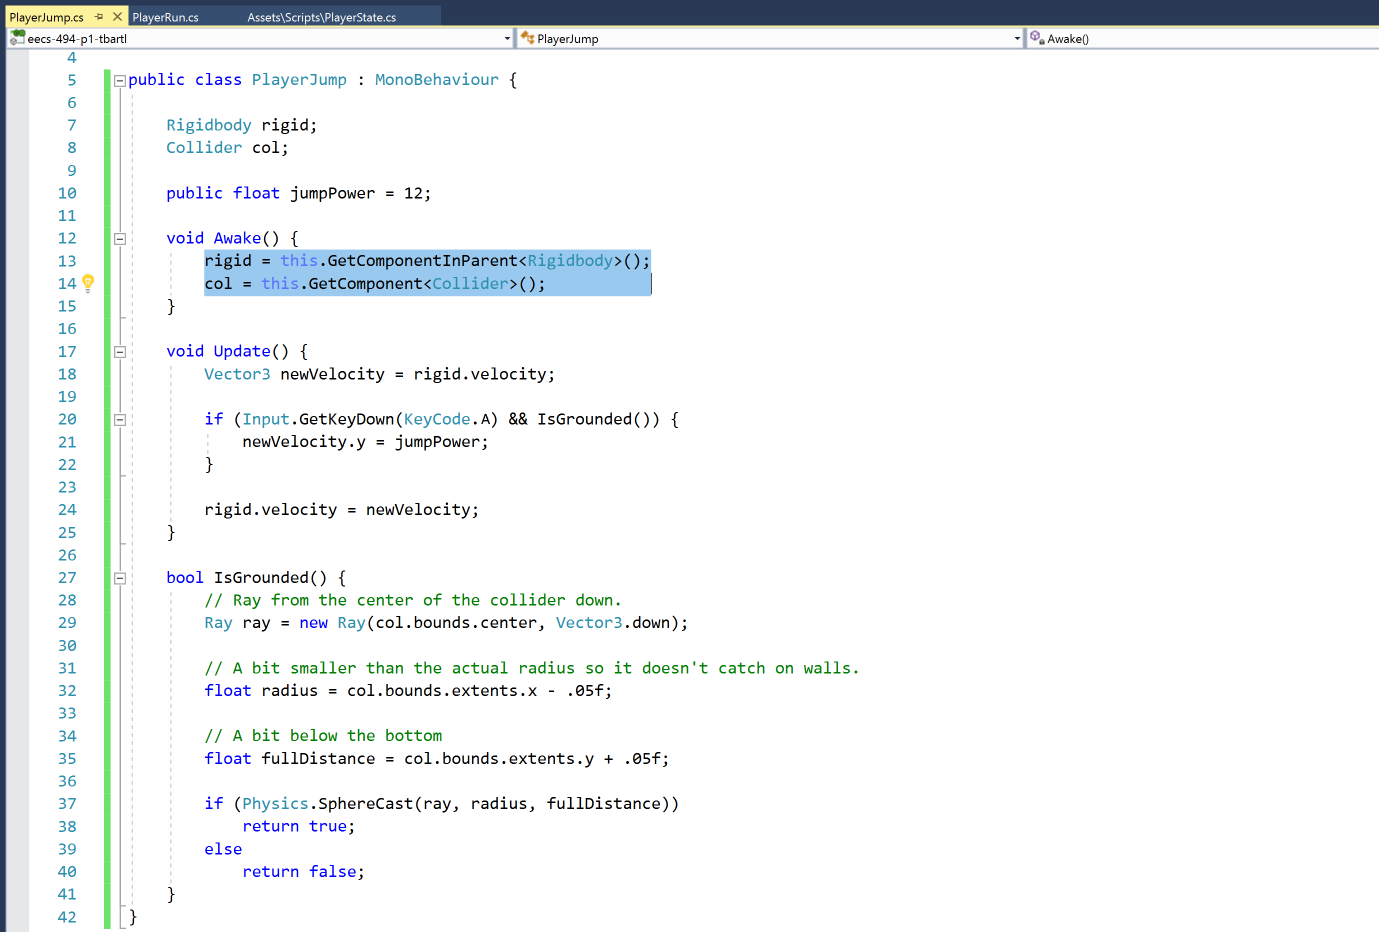
To limit jumping to just Standing we are going to break our single PlayerMovement script into two scripts: PlayerRun and PlayerJump.
Create PlayerJump.cs and place it in your script folder. Move all of the jump functionality from PlayerMovement over into it. Be careful with your GetComponent()-esque calls. The RigidBody is now in the parent, and the Collider is now on this object. You can now also safely cache the Collider since you know it won’t change.
Now rename PlayerMovement.cs to PlayerRun.cs. It should be pretty simple without jump logic, but make sure you rename the class within the script as well!
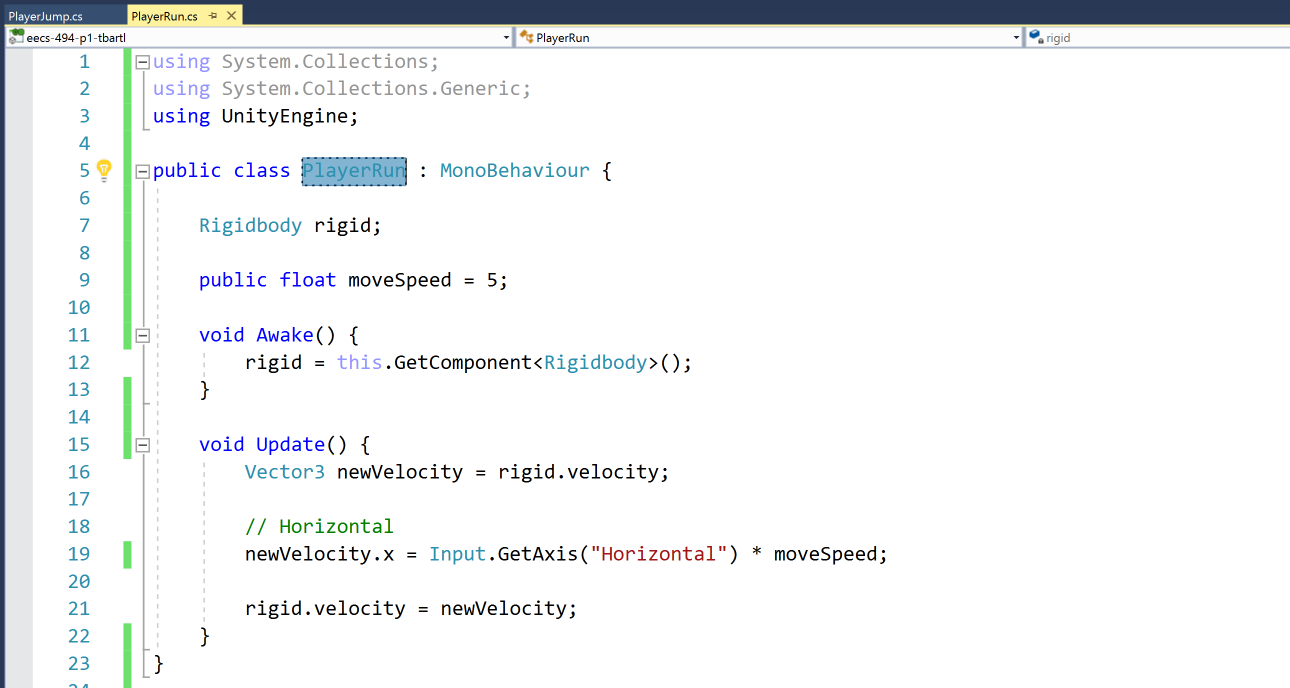
Now as both states allow for “running”, make sure that the component is part of Player:
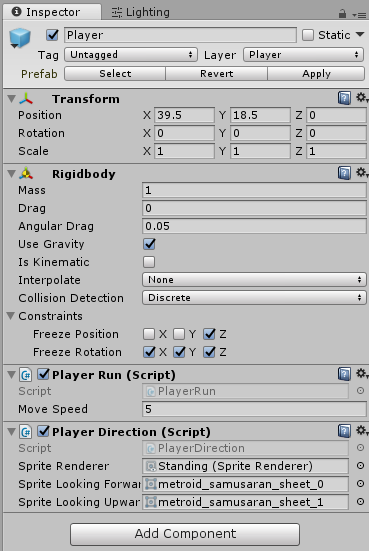
Jumping, on the other hand, should only work when the player is Standing, so add the component to it.

Great, we’ve decoupled our code. Plus we didn’t have to add any new logic and yet our states work correctly.
Switching States
Up until this point, we had been manually enabling and disabling Standing and Morphed. Now we are going to write a simple script to let the Player switch between both states.
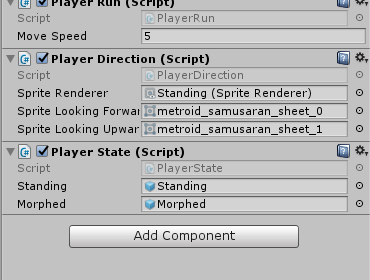
Create a new script, PlayerState.cs in your Assets/Scripts folder. Add it to your Player object.
The logic for this should be pretty straightforward. You have your two child GameObjects, and only one should be enabled at any given time. The player can switch to morphed form by pressing Down Arrow and switch to standing when pressing A or Up Arrow.

As always, we need to setup our public variables. Drag the children into the fields to set the reference.
Finally, let’s enable Standing and disable Morphed.
And our simple state machine is done!
Conclusion
That’s it for the Morph Ball. Of course, the Player doesn’t start with access to the Morph Ball, so in the next tutorial we’re going to force them to pick it up first.
When you’re ready, commit your changes and head over to 12: Collectables.